Adding SAP BTP Account to Eclipse for Development
FA
To gain access to SAP BTP, we can obtain a trial version. You can access this trial version by following the steps provided at the following link: URL: https://www.sap.com/products/technology-platform/pricing.html#pricing
After completing the steps on the website, you’ll need to create an account using your work or student email. With this account, you’ll be able to access the trial version.
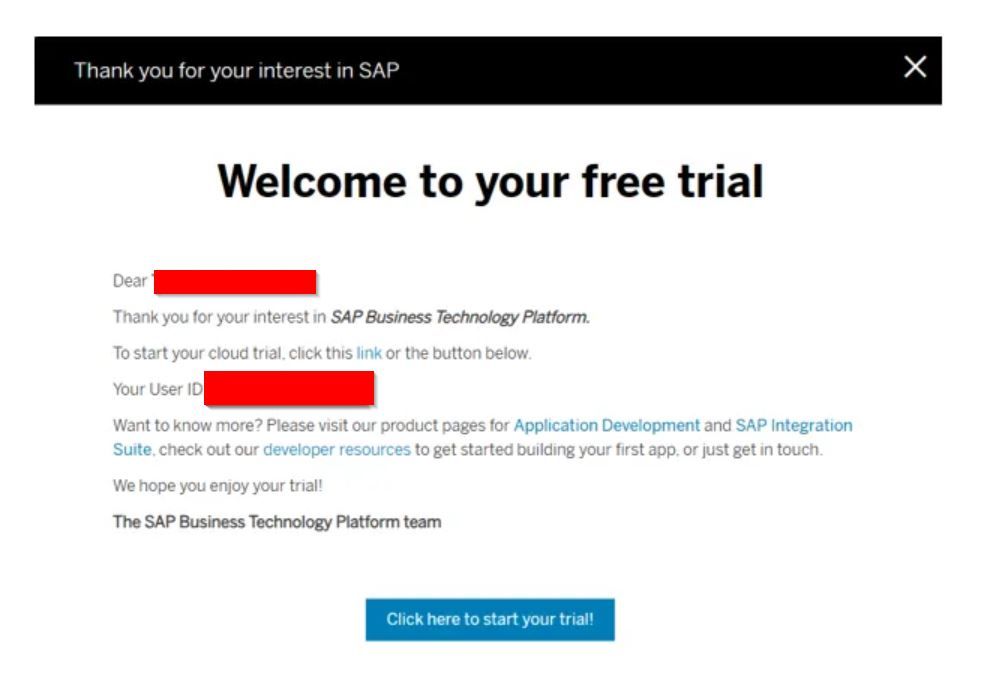
Sometimes, there can be issues with SAP Universal ID on Chromium-based browsers. Therefore, if you encounter a similar error, you can try logging in using Firefox or Edge.
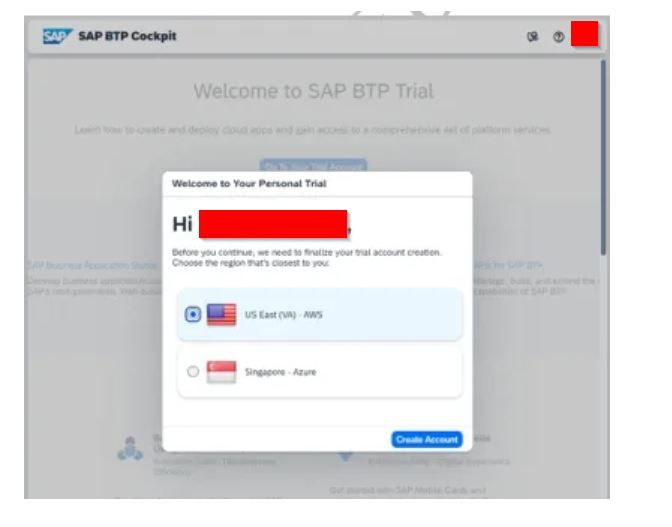
After completing the above step, the screen that will welcome you looks like the image attached. From this screen, select the nearest SAP Cloud server and proceed by clicking ‘Create Account’.
If you haven’t reached this stage or have questions about obtaining the trial version or creating a SAP account, it’s recommended to contact the relevant department within your organization for assistance.
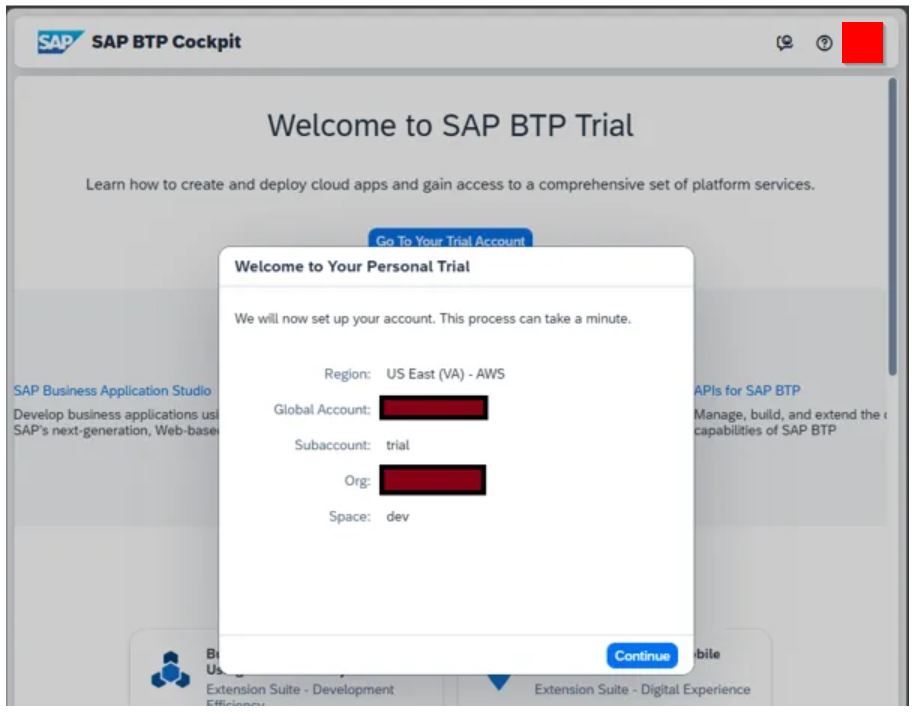
After this step, your access to the BTP system is now ready. Once you see this screen, by clicking on ‘Go To Your Trial Account,’ you’ll be able to access the BTP system.
Ultimately, what we see in the image is the layout of BTP Cockpit. On the left side of the screen, there is a button labeled ‘Boosters.’ Upon clicking this button, in the screen that appears, we select the ‘Start’ button under the ‘Prepare an Account for ABAP Trial’ option.


A few seconds after clicking, the ongoing processes will finish, and we’ll be presented with a screen like this. Here, we have several options available: we can download the service key according to our preference or proceed directly depending on the choice we make for the service key. For my own case, I preferred to go directly to the service key. In the following steps, you can also see how to access a service key obtained previously.
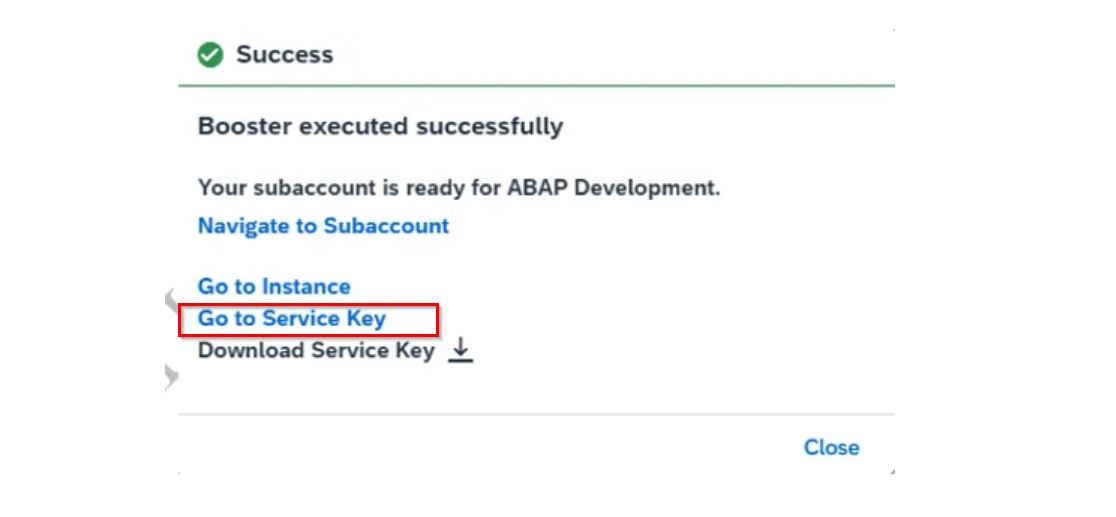
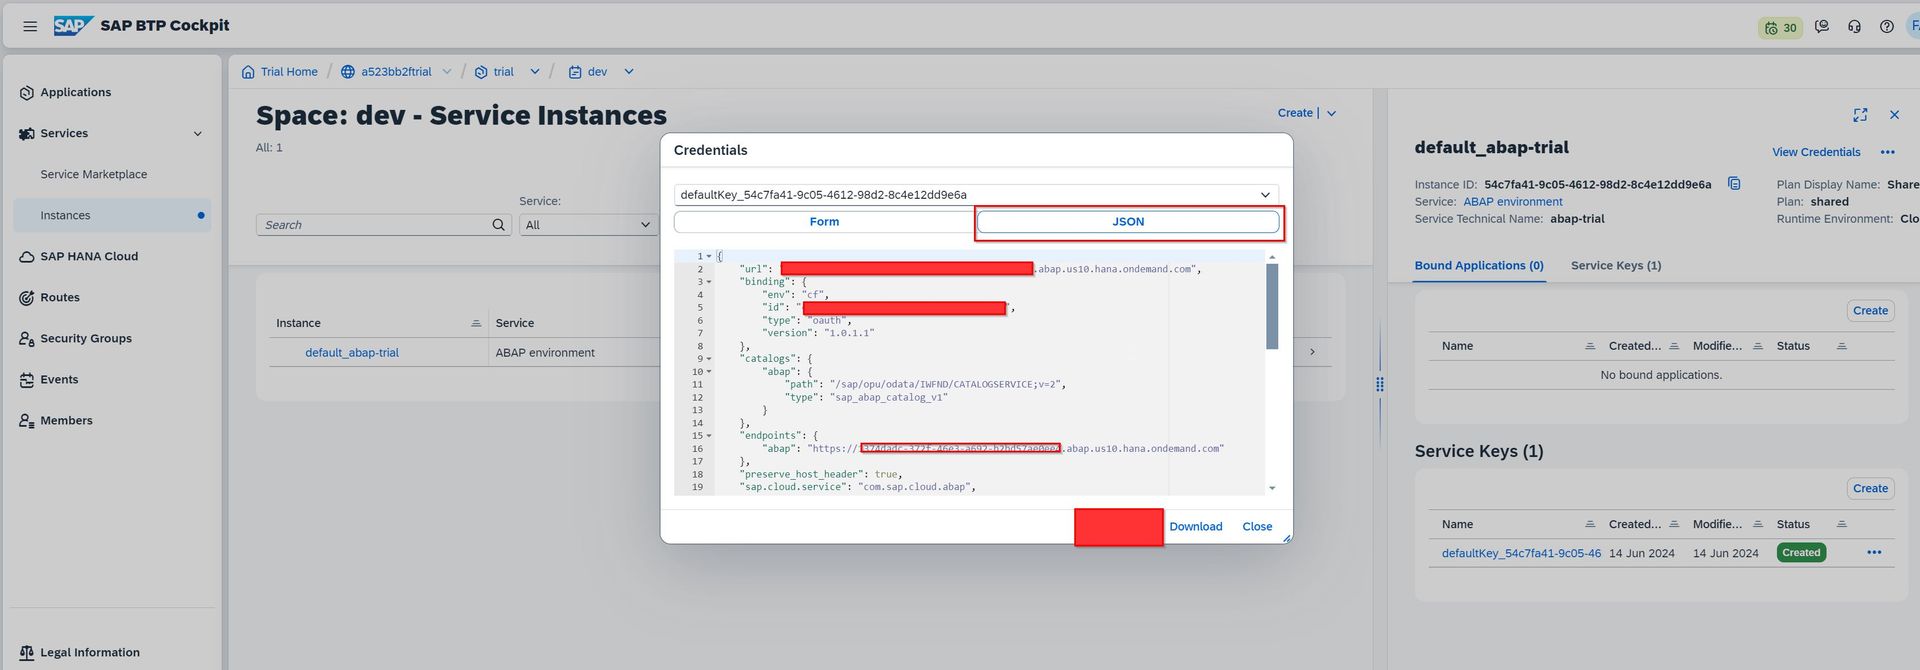
On this screen, under the ‘instances’ option on the left side of the screen, you can find the service key. Click on the three dots to the left of the key and then select ‘view.’ Upon clicking, a file in JSON format will appear, which can be used to access the system. Save this data and proceed to the next subtopic.
Establishing Eclipse ADT-BTP Connection with Service Key:
We open the Eclipse IDE by downloading the relevant ABAP development tools. Then, proceed by selecting ‘new’ from the top-left corner of the screen, followed by ‘ABAP Cloud Project’ and ‘SAP BTP ABAP Environment’ options.
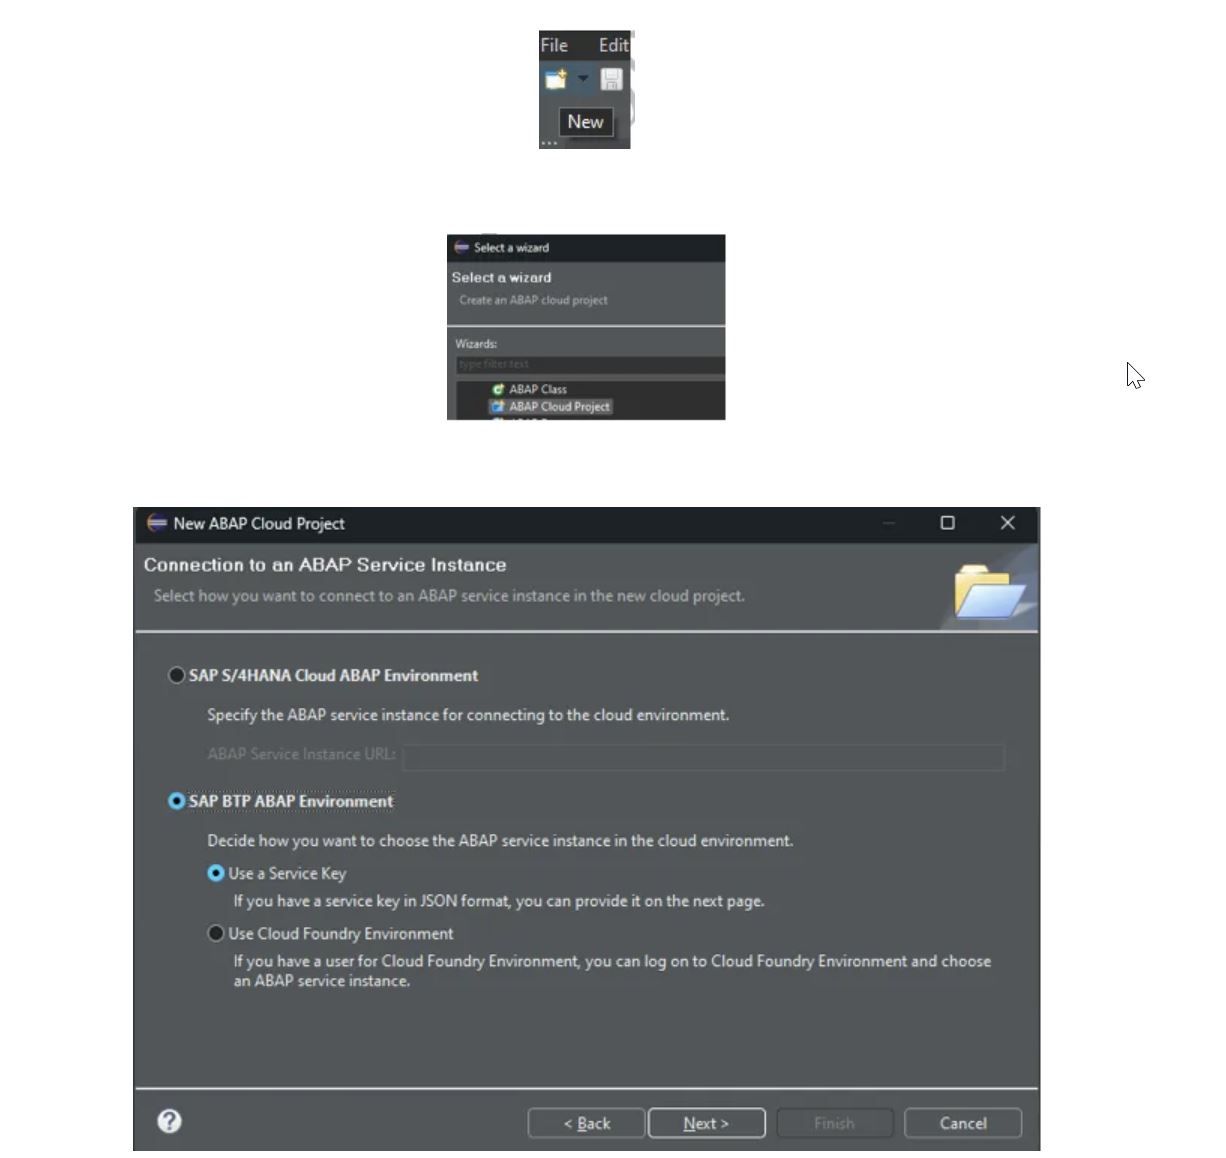
The screen that appears will be similar to the image. Proceed by clicking ‘Next’.
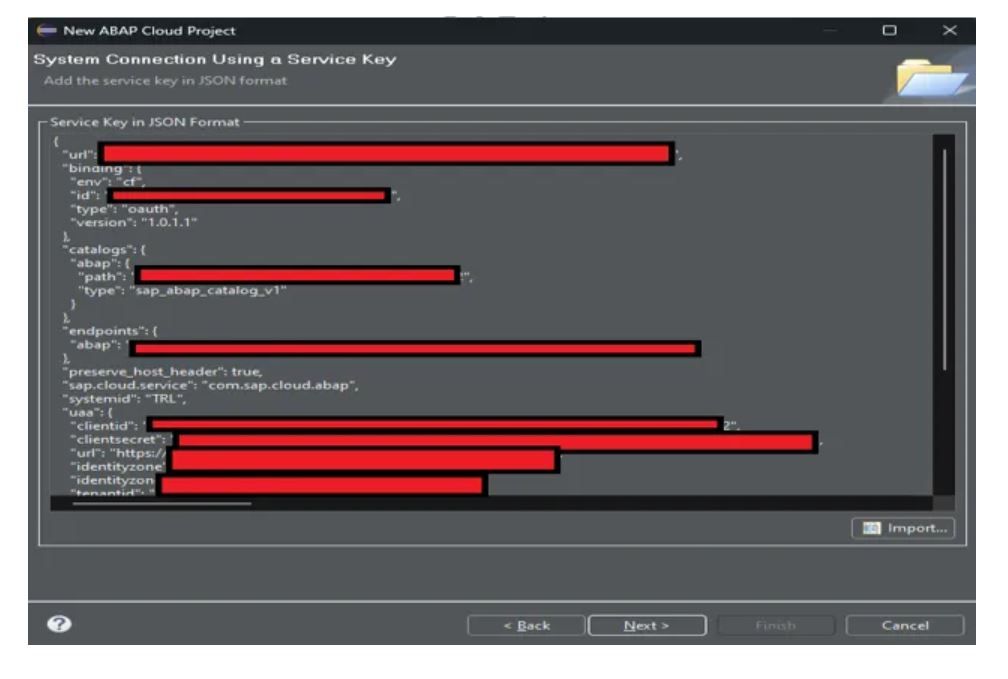
We copy and paste our service key in JSON format into the screen that appears and proceed by clicking ‘Next.’
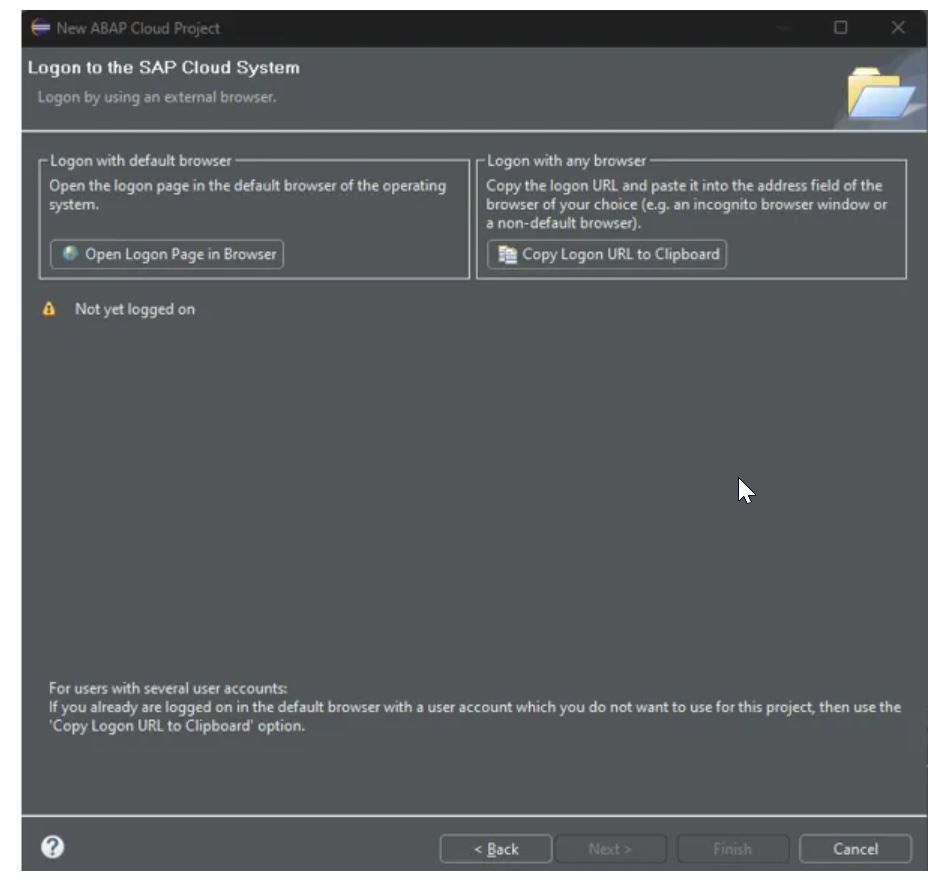
Now, the system will prompt us to log in for the Cloud System. We proceed by selecting the ‘Open Logon Page in Browser’ option. Upon encountering the screen displaying the ‘You Have Successfully Logged In’ message, Eclipse will automatically log in, and we’ll be greeted with the screen shown in the image below.
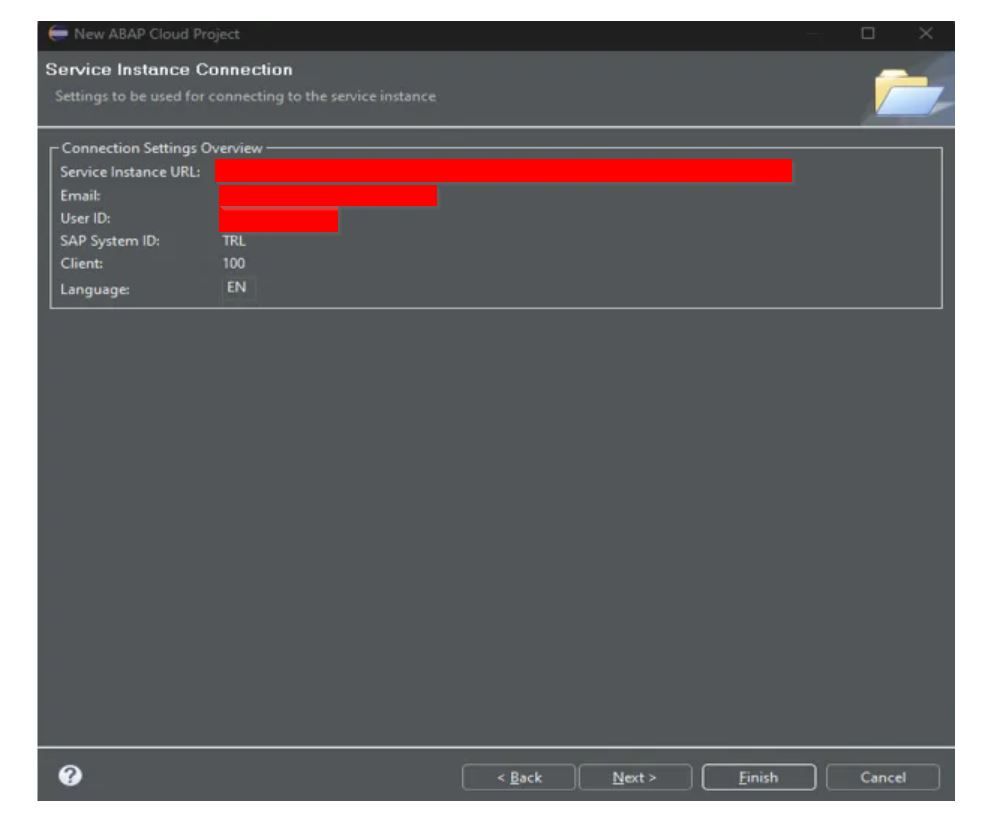
We proceed by clicking ‘Next,’ then on the following screen, we give a name to our project and finish the process by selecting the ‘Finish’ option.
As a result of the process, our system is now set up and ready.
